Dependencies
How To Add Dependencies With The Swift Package Manager
The Swift Package Manager is a dependency manager built straight into Xcode. Apple added official support for it in Xcode 11 and it has been getting better ever since. Using SPM means all dependencies are managed straight inside your project and you don’t need to worry about Podfiles or Cartfiles. SPM is incredibly powerful and has many features, however this article will just show you the basics of how to set it up and add a dependency to your project.
Adding A Package To Your Project
Adding a package or dependency is incredibly easy to do with the Swift Package Manager. In your Xcode project go to File > Swift Packages > Add Package Dependency. It will bring up a window where you can paste a URL. I’ll be adding the SwiftyJSON Dependency so I’m going to paste this URL into the box.
https://github.com/SwiftyJSON/SwiftyJSON
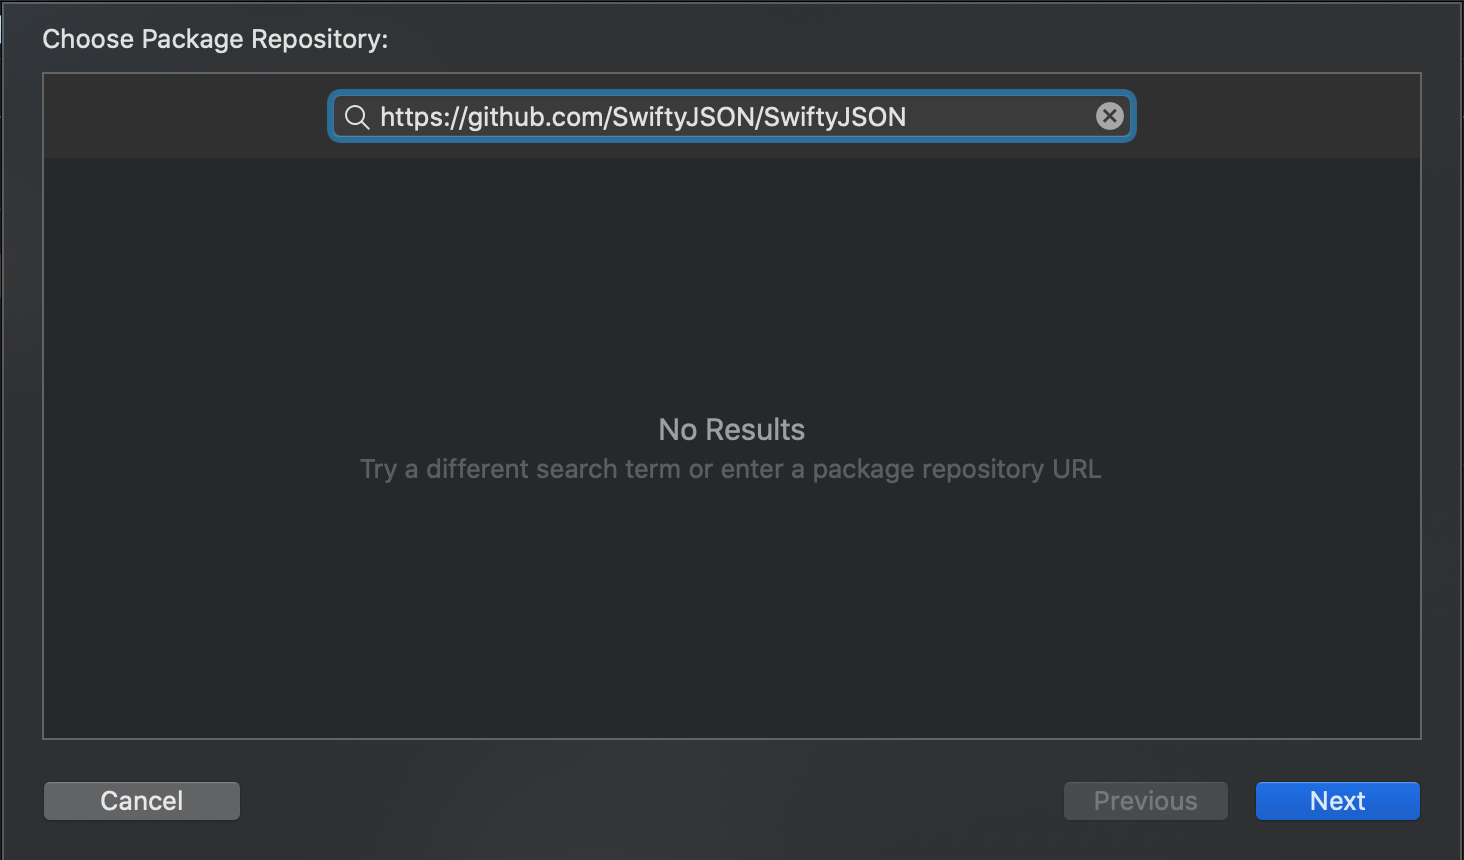
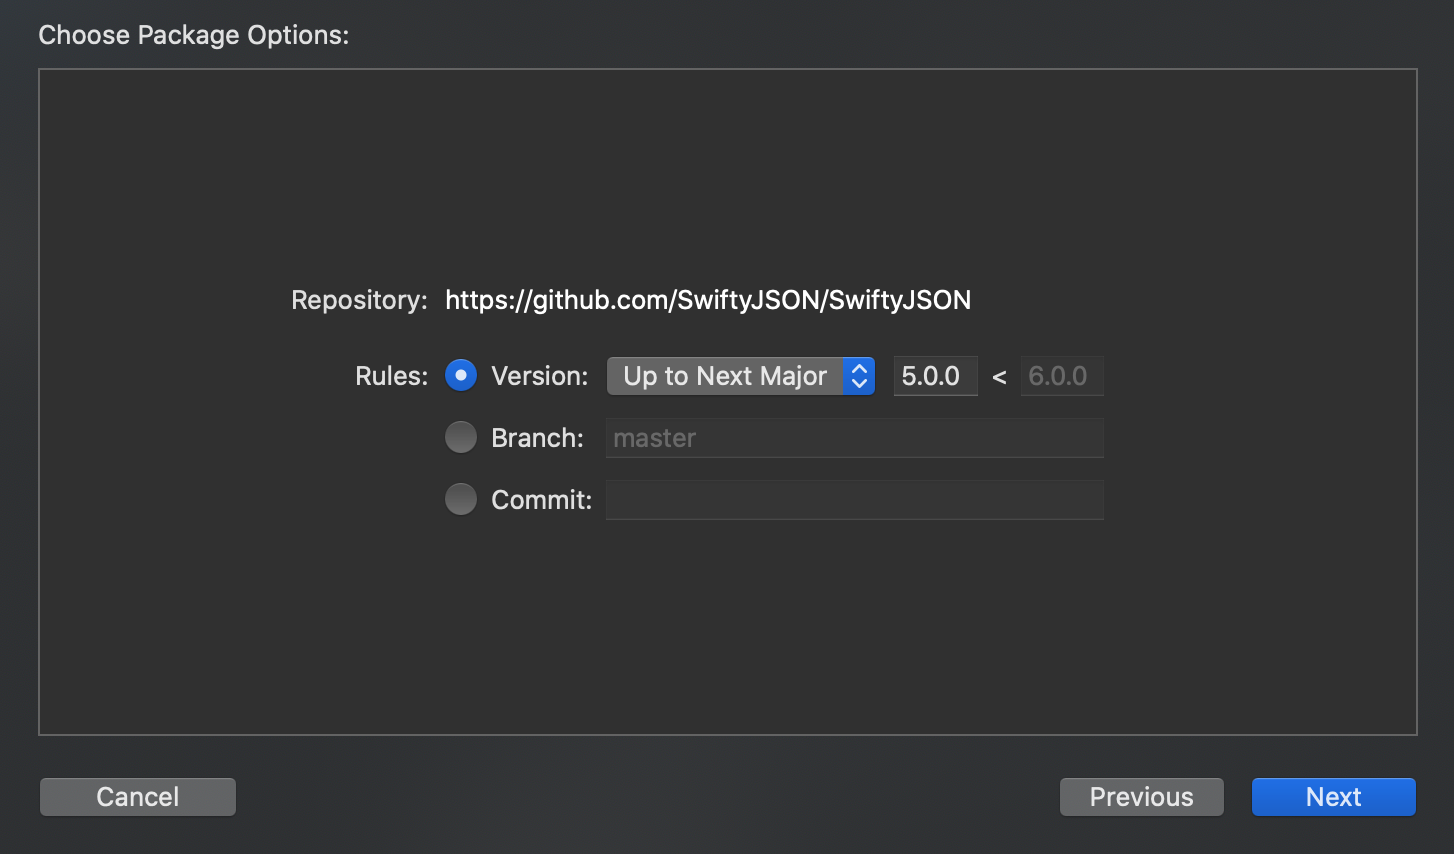
Click Next. You’ll be brought to another screen where you can select the version, branch and commit. I’ll be keeping mine as the default but feel free to make any changes then click Next.
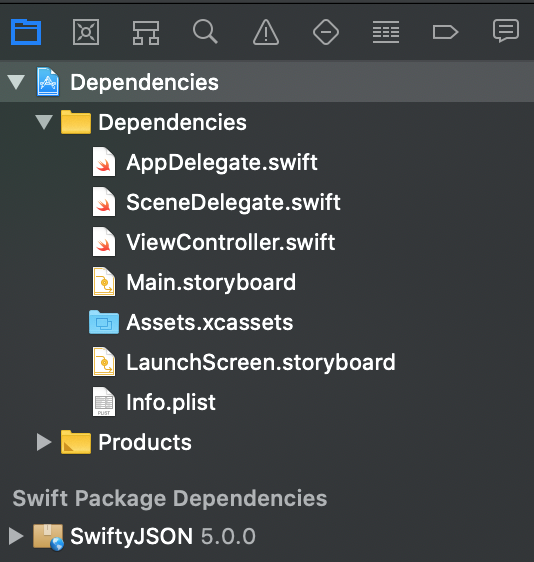
You’ll be brought back to your project and the package will appear in the project navigator underneath all your other files.
Using The Dependency
To make sure the dependency has successfully been added to the project, I’m going to head over to the ViewController.swift file and add the following line of code to the top.
import SwiftyJSON
We can now start using the dependency.
Searching For Dependencies
Xcode also supports searching for different packages. To get started, go to Xcode > Preferences and go to the accounts tab. Here, you can add your Github account by presing the + button in the bottom left.
Now, if you head back to File > Swift Packages > Add Package Dependency, you can search for dependencies instead of pasting a URL.
Conclusion
This article was just to get you up and running with installing dependencies with the Swift Package Manager. It can be used in many different ways and is very powerful so expect more articles covering more advanced topics. Thanks for reading!